Enter a keyword below to search for articles and products.

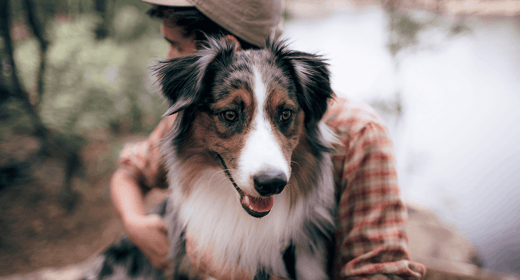
Congrats! Your adorable li’l bundle of fur is finally home. Now it’s time to train your pup like a pro with our essential puppy training techniques and tips for three important topics:
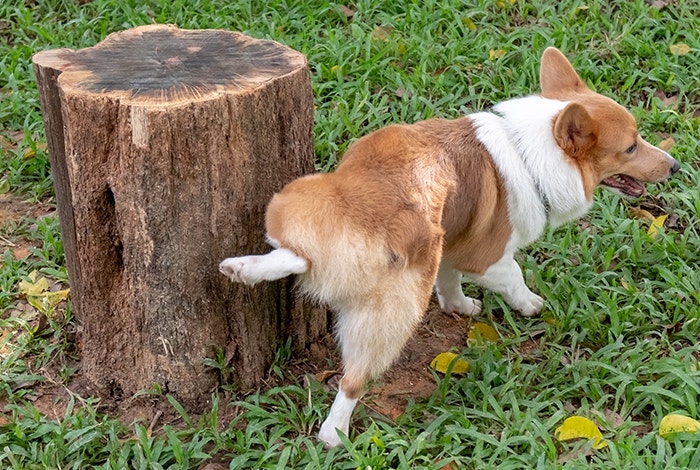
Most experts suggest potting training a puppy when they’re between 12 and 16 weeks old.
Before you begin, though, set your puppy up for success by giving them a confined space in your house, whether that’s in a crate, a small room with a baby gate or on a tethered leash, so you can keep an eye on them and prevent accidents.
Most puppies need to eat three to four times a day, so feed your furry friend delicious, specially formulated IAMS™ Puppy Food at the same times every day. The food is easy to digest and will help keep your puppy’s potty breaks on a fairly predictable schedule, which is a win-win for both of you.
We recommend every hour or two at first, depending on your pup’s breed and size. Also take them out right after they wake up in the morning or from a nap, after they eat or drink and after play sessions.
Removing access to water two hours before bed time and scheduling a bathroom break right before bed will help your li’l baby sleep through the night. Most puppies can sleep about seven hours without having to go. But if your puppy does need to go out, be low-key about it. Take them outside, allow them to go and put them right back in their sleeping space.
By taking your puppy on a leash to the same spot every time, you’re saying to them, “This is where you do your business.” The scent in this spot will encourage them to go. Also, use a consistent phrase like “go potty” as your puppy does their business. Eventually, that’s all you’ll have to say to prompt them.
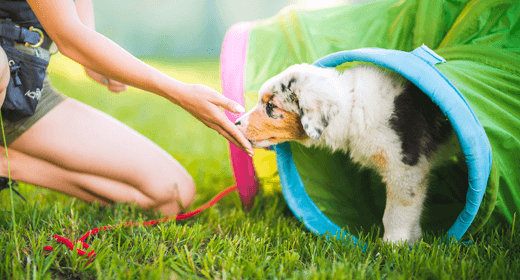
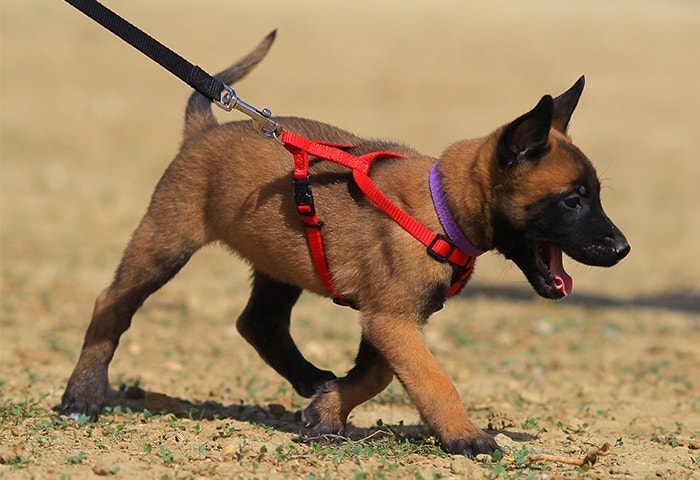
We recommend using a leash so your puppy knows exactly where they need to go and doesn’t get distracted on the way — which, of course, is what puppies do.
Give your little pooch lots of praise after they do their business so they learn your expectations. You can also give them a treat, but do it immediately after they go so they associate the treat with the behavior. Going for a walk around the neighborhood is another great way to reward them.
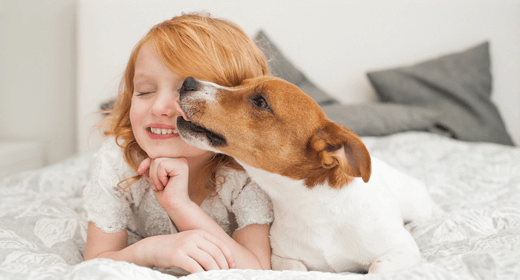
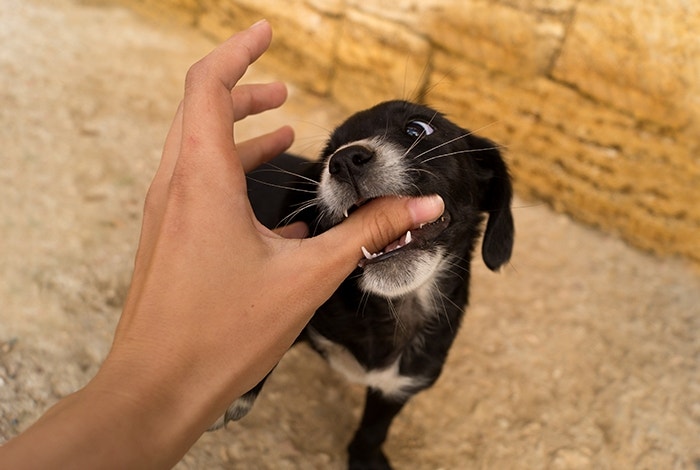
While playing with your puppy is fun for both of you, it’s important to teach your puppy that they aren’t allowed to nip at your clothing or bite your skin. Here’s how to do it:
A great technique to nip puppy nipping is to say “ow!” in a loud, high-pitched voice. This gets your puppy’s attention because it mimics the yelp a mother dog and littermates use to say, “Hey, you just hurt me.”
Every time your puppy nips or bites you while playing — or any other time for that matter — gently remove yourself from their grip, quietly turn around and walk away. This says to your little guy or girl that biting is not an OK way to play.
If your puppy keeps biting after you say “ow!” or walk away and ignore them, they might be overstimulated or overtired. If so, gently put your puppy in their crate or room for a little while so they can calm down or sleep.
If you don’t want your hands, fingers and toes to be chew toys, then always have a puppy chew toy handy. This distracts them from the biting behavior and teaches them what’s acceptable to chew on, especially when they’re teething and gnawing to make their gums feel better.
A tuckered-out pup has less energy to nip and bite, so give them the right amount of physical activity and playtime every day. See how much exercise our experts recommend.
Whenever your little friend plays politely and doesn’t bite you or others, don’t forget to praise them, give tons of affection or perhaps offer a tasty treat.
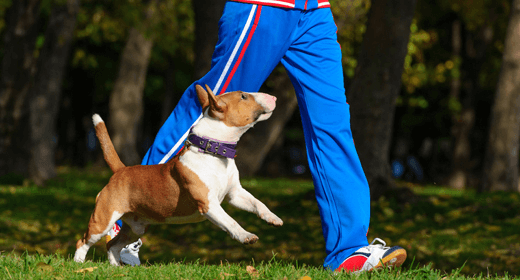
No doubt about it: One of the most important things you can do as a new puppy parent is teach your dog how to go on a well-behaved walk with you on a leash. Here’s how to get started:
Start inside your house by putting on your pup’s collar or harness for short periods when you’re playing with them and giving them treats, like pieces of tasty IAMS™ kibble. After your puppy is comfortable with their collar or harness, attach the leash and let them drag it around
Start with simple walks around your house. Teach your puppy to walk next to you with a loose leash, praising and encouraging them with small pieces of dry dog food.
As your pup gets the hang of indoor walking, it’s time to take your leash training outdoors, preferably in your backyard if you have one. Keep your puppy focused during each brief session and encourage them to stay right next to you without pulling, lunging or stopping while they’re on the leash.
Now’s the time to put your training into action. Start out with a short walk and work hard to keep your pup close by your side. You’ll also need to keep them focused because they’ll be distracted by all the new sights, sounds and smells. Be patient, keep your pace slow and give them plenty of chances to sniff around and do their business.
Practice really does make perfect. So keep praising and giving your little friend occasional treats until they learn the leash-training routine and become a well-mannered walking partner for life.

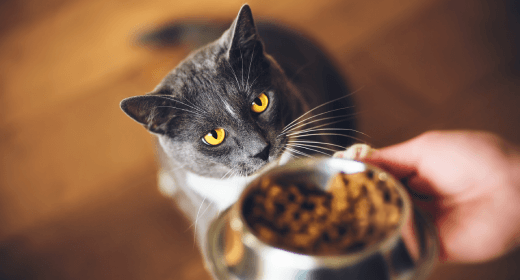
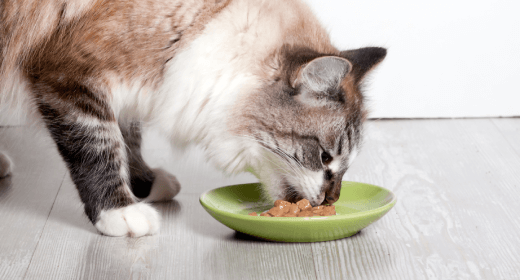
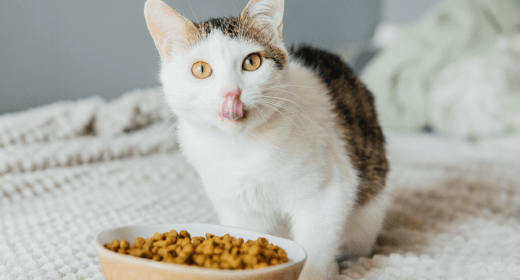
At about 12 months, your cat no longer requires the high levels of minerals, protein, and energy needed while he was a quickly growing kitten. So switch him to a high-quality food, such as IAMS™ ProActive Health™ Adult Original with Chicken, which is specifically balanced for the nutritional needs of adult cats. When choosing food, follow these steps.
Once you've selected a food, establish healthy feeding habits.